


As you can see I used a buttercream yellow material for the skirt. For the top I used a simple white poplin fabric and embellished it with navy bias tape and a blue and white rope twine.
 I also used tiny brown and tan hued buttons.
I REALLY like this dress. It's interesting. And it's comfortable. But if I had to make it over again I would have used a floppy but sturdy fabric like garbadine. The poplin and cotton is very stiff and wrinkles easily.

And if you liked this Frock by Friday please Stumble It:

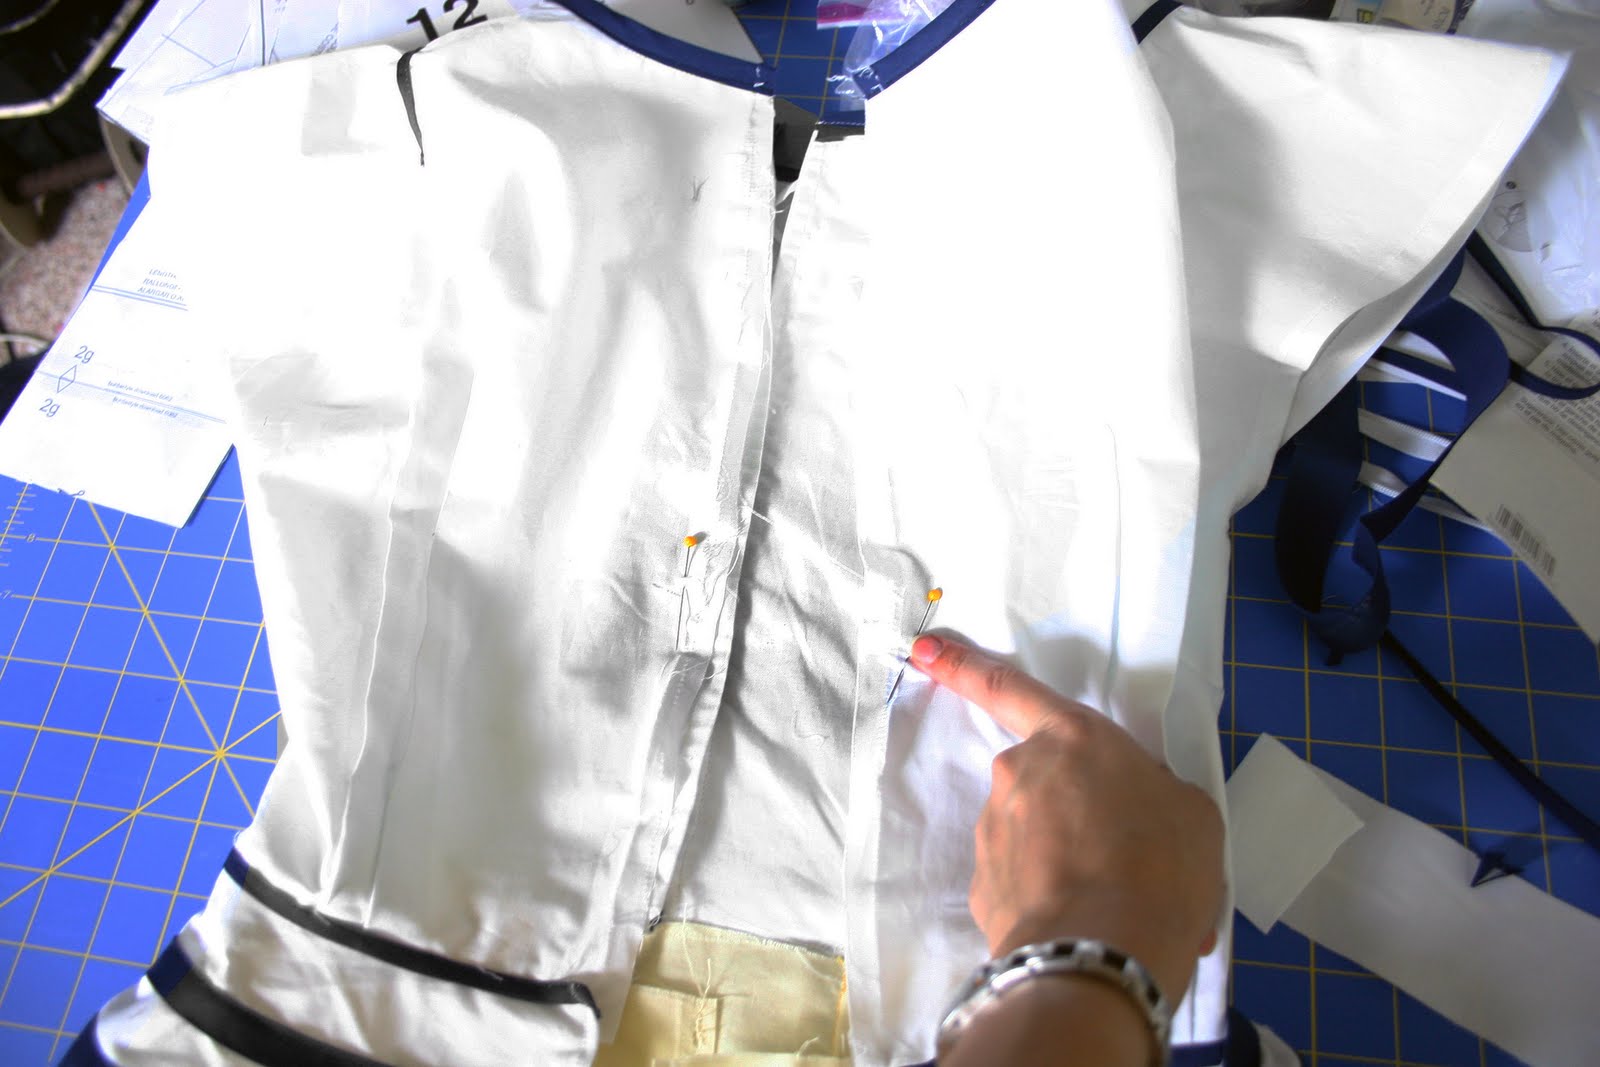

3. Then I added a piece of fabric the width of the extra skirt piece and as long as from the bottom of the bodice to where I made the mark on the blouse in step 2. Iron well. The flatter it looks the better.

4. Then I cut that piece from where it met the skirt to the mark I made in step 2 so that it was one long line without any corners.

5. Then I sewed the new piece to the skirt at the seam, right sides together.
Now if you do this dress again, you'll know to add that tiny piece to the back of the bodice pattern BEFORE you cut out the pattern to avoid steps 2-5. If you redo the dress in a different style, I'd also lengthen the peplum by an inch on both sides.
 6. I also sewed the pleats in the back of the skirt into darts because they looked really weird as pleats. To do this just sew starting from the end of the pleat line and taper down to the fold.

DONE! Give yourself a pat on the back because this wasn't an easy one.
As you can probably see I embellished a little by adding bias tape trim accents as well as a little twisty rope detail.
If you have any questions please leave them in the comments and I will try to address them.
And the new FBF button is below. Feel free to link to the Frock by Friday to get more fun people involved! To grab the button just highlight it, copy and paste into a new post or sidebar.


 Like not spending money?
14 {comments}:
I like how your top turned out.Especially the top- charming! and fits good, too.
but for the bottom I think I'd preffer to see something light blue? anyway, great job!congrats.
where did you get the boue and white twine that is on the top...your dress looks outstanding i was so annoyed that i could not get started but maybe that was a good thing as i think i will do something in a similar style thanks!!!
There is a fabric outlet store down the street from my house that sells all sorts of neat trims, buttons and weird stuff. It was only 30 cents a yard. Can't beat that!
WOW! Love it! Love the colors...It definitely works!
I like the combination of colors! The top detail is amazing! I love it.
Love this!!
What an amazing dress ~ the top's details are simply goregous.
I always like seeing the ideas you come up with.
xox,
bonita of Depict This!
great top details, so crisp and effective, love the colours you picked also!
That turned out incredible - great job!
Hi Kathleen,
Just wanted to thank you for doing this (I will post my pics later this weekend cause it's not completely done).
Your explanations were clearer than all the instructions I have read so far. This was for me the first time I was sewing a blouse with buttons and all, and you made it almost easy...:) with minimum mistakes and such applicable techniques!
That dress i GORGEOUS!!!! There are so many variations of it that you could make... Thank you so much!
Really adore your fabric combination and all the extra added bit! I am still struggling with some fitting issues but hope to finish this weekend.
wow thats gorge x
Loved it!! The top's details are simply goregous.:D
Can you make a tutorial were you line a jacket??
Post a Comment